When a roof is replaced, the same stages happen in the same order whether the house is a Victorian terrace off Staplegrove Road or a new estate home on the edge of town. What changes is the size of each stage and what the old roof turns out to be hiding. Owners who know the order can ask better questions, move the right things out of the way and spot when something is being skipped.
This guide walks through a full re-roof of a pitched house roof as we run it: the survey and the written price, the scaffold and its licence, stripping, the check of the timbers, underlay and battens, the new covering, ridge and verge, flashings, and the clear-up that ends the job. It says what you will see from the garden each week, what the crew needs from you, and where the Building Regulations come in. It forms part of our wider roof replacement pages for Taunton and the surrounding towns.
Stage one: survey, photos and the written price
Nothing starts with a lorry. It starts with someone going up to look at your roof, taking photos of your own slopes and showing you what they found. Slipped slates, a sagging ridge, moss in the valleys and daylight in the loft each get their own picture, so the decision rests on evidence and not on a sales line. The photos are yours to keep.
What does the survey decide?
It decides if patching still makes sense or the whole roof has come to the end of its useful life. If the answer is a re-roof, the survey pins down the roof area, the chosen covering, how the crew will reach it, the chimneys and valleys involved and any extras such as roof windows or new vents. One total price in writing follows from that.
Does the job need approval?
Re-covering a house like for like is normally permitted development under Class C, so planning permission is rarely the question. The Building Regulations question is answered by the Planning Portal's test, which looks at how much of the building envelope and how much of the roof you are changing. Where the new covering weighs 15 per cent more than the one it replaces, or further above that, Building Regulations approval is required, and a surveyor or structural engineer is asked about the load before the job is priced. Concrete laid where clay or slate used to be is the usual case. Listed homes need listed building consent as well. The survey is where we work out which of these applies to your house, and you are told in advance what the paperwork will involve.
Once you accept, dates are agreed. The first fixed point is not the start of stripping but the scaffold, whose licence has its own waiting time.
Stage two: scaffold, licence and a safe site
The scaffold goes up before anything comes off. It gives the roofers a guarded platform at the eaves, a place to stack materials and a route for waste. Where the frame stands on the public highway, section 169 of the Highways Act 1980 requires a scaffold licence from the highway authority's licensing team.
How much notice does the council want?
Somerset Council says its scaffold permits are restricted to accredited contractors, with the scaffolder appointed for your job completing the application. The notice it asks for is 10 working days or more, and the fee is £124.60 per 28 days (Somerset Council, April 2026). That wait comes before the programme, so it is the first thing booked.
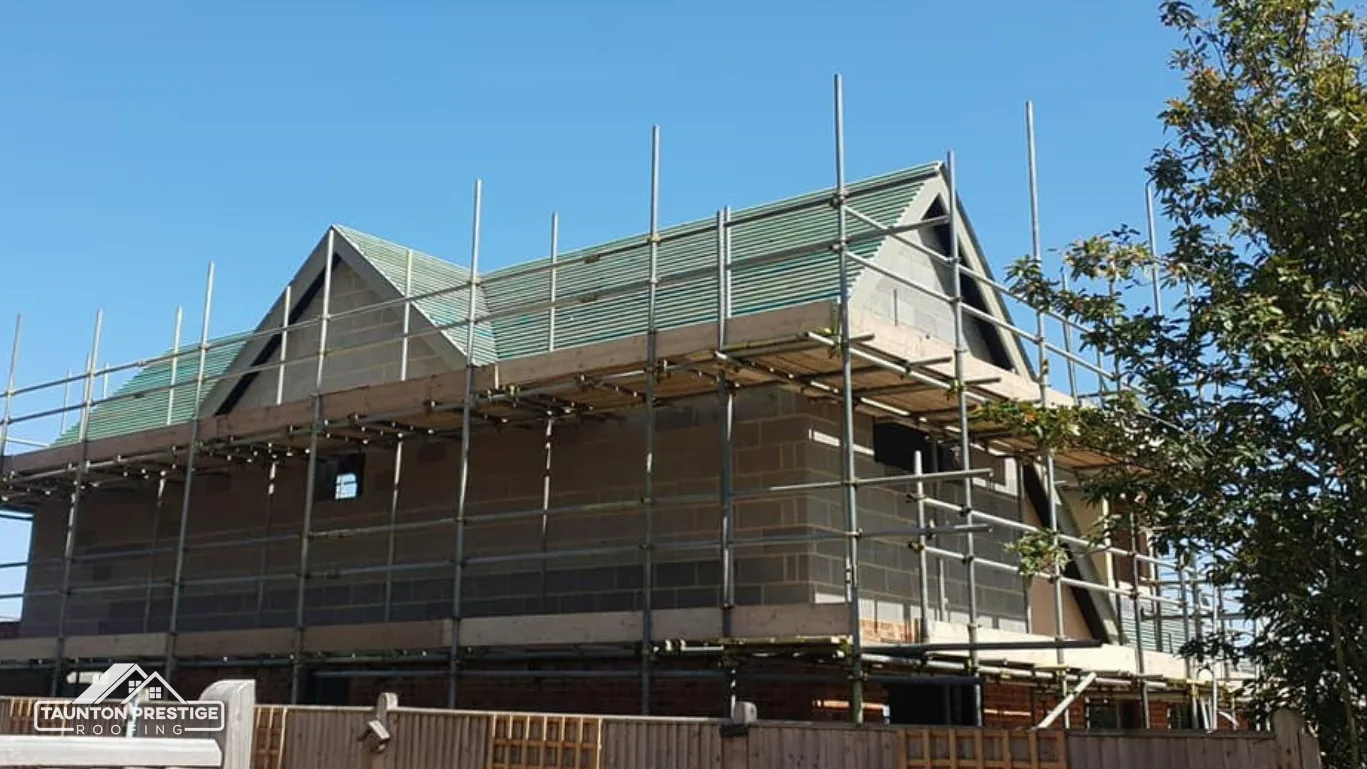
On the day the frame goes up, you will see the scaffolders measure the elevations, fit the base plates and tie the tubes into the walls. A boarded, guarded lift at the eaves follows, with a catch fence along the lower edge. Anything on the ground that could be struck, such as a conservatory roof, a garden table or a car, is moved or protected.
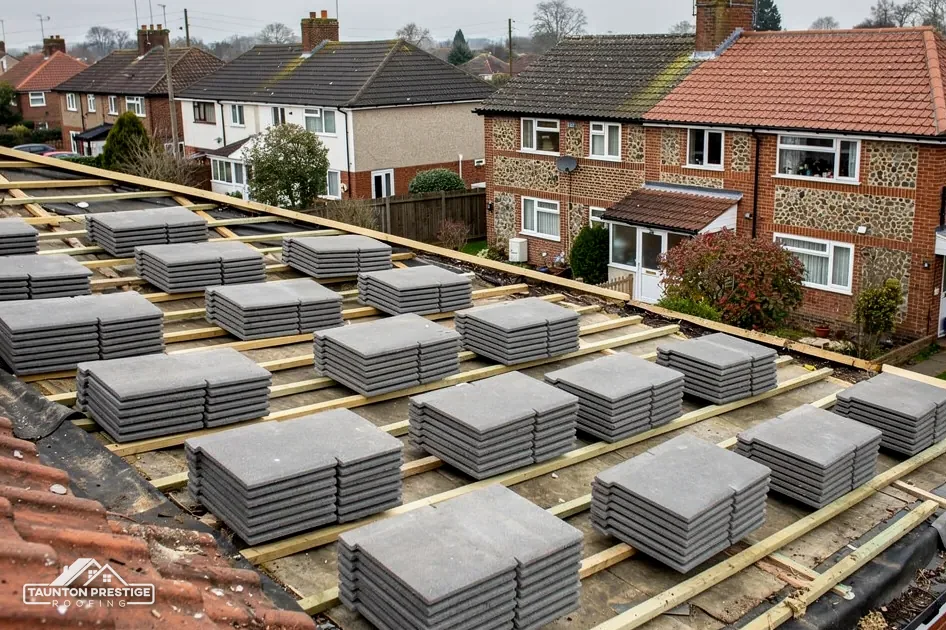
This is also the day to confirm the site arrangements: where the crew parks, where the delivery lorry unloads, where waste is stacked and which door the crew uses if they need your toilet. A tidy site is set up properly at the start and not cleared up in a rush at the end. You are given a plain outline of each day and a number to ring if something looks wrong. Our scaffolding and neighbours guide has the detail on licences and the street.
Stage three: stripping and the check of the timbers
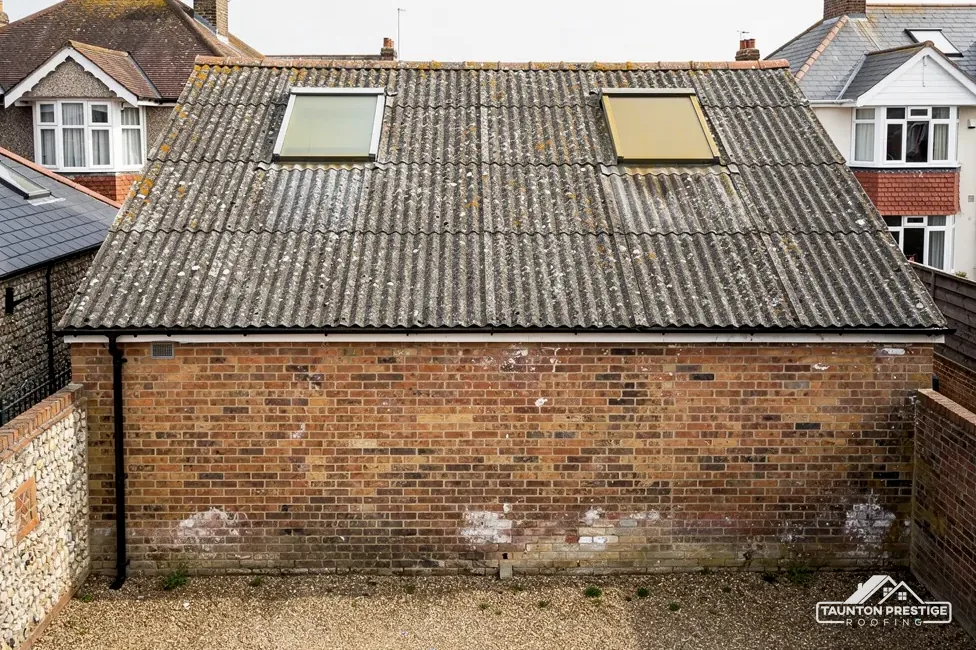
Stripping is the loud, visible part. Ridge tiles and hips come off first. The slates or tiles are then lifted a course at a time, starting at the ridge and moving toward the gutter, and the old battens and underlay are pulled away. Sound slate and clay are sorted and stacked for reuse where the plan allows, and the rest goes to waste.
Why is the timber check the most important hour?
Because the rafters sit uncovered for once, and this is the single chance to see the frame properly. The crew looks along every rafter, the wall plate at the eaves and the junctions at valleys and chimneys for wet rot, splits, insect attack and sag. Rot gathers where leaks have run for years: beside chimneys, below valleys and along the eaves.
If something is wrong, you are told before more is done, with a photo. A few rafters or a short length of wall plate can be repaired in place; a badly decayed area may need a structural engineer's advice. Our guide to rotten roof timbers covers what roofers find.
The price is built on the survey and not on a guess. It allows for the roof as the survey found it, and anything new that the bare slope reveals is raised with you before it is touched.
Bats and nesting birds can use roofs. The Wildlife and Countryside Act 1981 s1 makes it an offence to intentionally damage a nest while it is in use, and bats are covered by s9(4) of that Act and the Habitats Regulations, so stripping pauses if either turns up.
Stage four: underlay, battens and ventilation
With the frame checked, the covering goes back from the bottom up. First comes a new layer of underlay, a membrane that catches wind-driven rain and snow beneath the slates or tiles and drains it into the gutter. It goes across the rafters with generous overlaps and a slight drape, and its lower edge discharges into the gutter.
Which underlay does the roof get?
It depends on the roof's design. With a non-breathable HR underlay the roof space relies on eaves ventilation, and Marley's cold-roof figures under BS 5250 are 25mm along the eaves at 15 degrees or less and 10mm above that. An LR, or breather, membrane passes vapour but depends on a well-sealed ceiling beneath it. We pick the pairing that suits your loft and tell you which it is.
Battens follow. These are the timber laths that the covering hangs from. The roofer sets them out to the gauge for the chosen slate or tile, which is the distance between battens that keeps every course lapping correctly, and nails each one to the rafters. Setting-out is slow work, and it is where care shows. A batten set a few millimetres out at the bottom becomes a visible wave by the ridge, and no amount of skill with the slates can hide it afterwards. Spacing is checked with a gauge stick against the length of the chosen slate or tile, row by row.
If the survey called for eaves vents, a vented ridge or tile vents, they go in at this stage too, before the covering hides the places they fit.
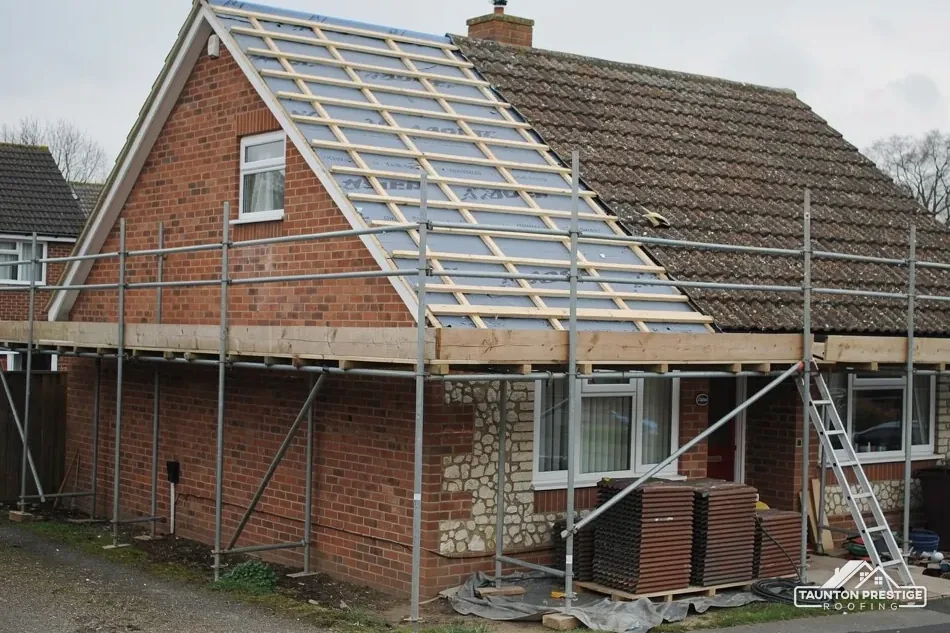
On a good roof you can see all this from the garden as a pale, uniform grid of timber on a dark sheet. It is the best moment for questions.
Stage five: the covering, ridge, hips and verges
The new slates or tiles are fixed in courses from the eaves upwards. Each one is nailed or hooked as the manufacturer's data sheet requires, and the minimum pitch for the product is checked first. Every product has a minimum pitch, and natural slate sits at 20 degrees under BS 5534. A clay profile such as a double Roman, a Somerset-made pattern, has its own lower limit, so the pitch is measured before the order is placed.
How are the ridge, hips and verges finished?
Three finishing lines need explaining. The ridge crowns the roof where two slopes meet, a hip runs down an outward corner, and the verge caps the sloping edge beside a gable wall. None of them should depend on mortar by itself, because Marley reports that mortar was recognised as too weak to hold ridge and hip tiles alone from the 2014 revision of BS 5534. A dry-fix system made to BS 8612 uses clips and screws instead, which keeps the line neat and cuts the repointing old bedding needed.
What can you see from the ground?
In the middle of a job, you see courses of new covering rising from the eaves and a dark band of underlay above them. Overlaps and spacing should look regular. Wavy lines, gaps or uneven courses are worth raising at once, because they are far easier to put right while the scaffold is still standing.
A roof is rarely finished in one clean motion. The crew moves from slope to slope, and chimneys and valleys are left open for the lead-work stage that follows. Stage by stage, the roof closes up.
Stage six: flashings, chimneys, clear-up and sign-off
Flashings are strips of metal, usually lead, that seal the joint between the roof and anything standing through it: chimney stacks, walls, roof windows and vent pipes. They leak first if they are rushed. They are cut, dressed and fixed once the covering is on, then inspected as their own item. MyJobQuote says lead can last for over 80 years, a lower bound that still depends on the weight of sheet and the quality of the detail.
What does the clear-up involve?
Gutters are cleared of grit and offcuts, fascia and soffit boards are checked where they were touched, and the scaffold comes down. The frame comes down in the reverse order it went up, and you are told which day to expect the noise. The ground is raked, paths are swept and leftover waste leaves with the crew. We go round the finished job with you, show photos of the new roof and settle any loose ends before anyone drives away.
What paperwork follows?
If the work was notifiable, the building control body inspects it and issues a completion certificate, and Somerset Building Control holds copy certificates for 15 years. Put the certificate with the deeds; the solicitor acting for a future buyer is likely to want it. If you are unsure whether one is due for your job, ask before the work starts, not after it ends, and ask who will apply for it.
How long all six stages take varies with roof size, covering and weather. Our page on how long a re-roof takes goes through what moves it.
Re-roof process questions
What do I need to do before the scaffold arrives?
Clear the loft hatch, move cars and garden furniture from the walls, and tell the neighbours the dates. Take down satellite dishes or mark them, and show the crew where the stopcock and fuse board are. A short walk-round on the morning lets everyone agree the access and the places to avoid.
Will the roof be open to the weather while it is being replaced?
Only in sections. The crew strips a part of one slope, checks the timbers, fits underlay and battens, and covers whatever is unfinished before stopping for the day. You will see tarpaulins on the ridge overnight at times, and rain can stop work for a day or two.
Who checks the work when it is finished?
We go through the finished roof photos with you and agree any snags before the scaffold comes down. If building control was involved, its inspector signs the work off. Ask for the certificate on paper and store it safely with your house papers, ready for a sale.
More on this subject: Roof replacement and new roofs in Taunton