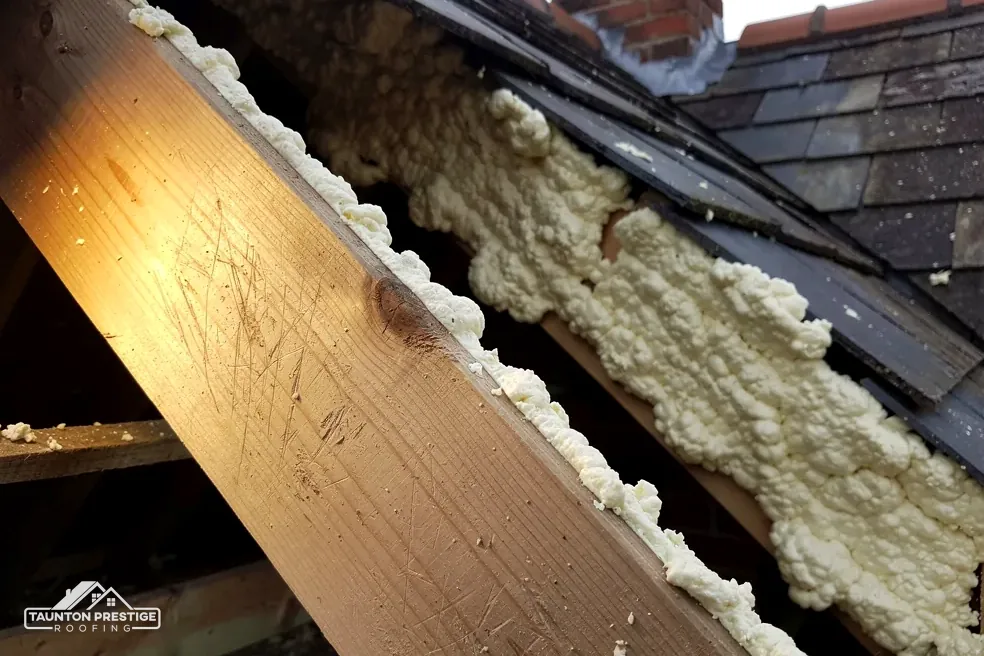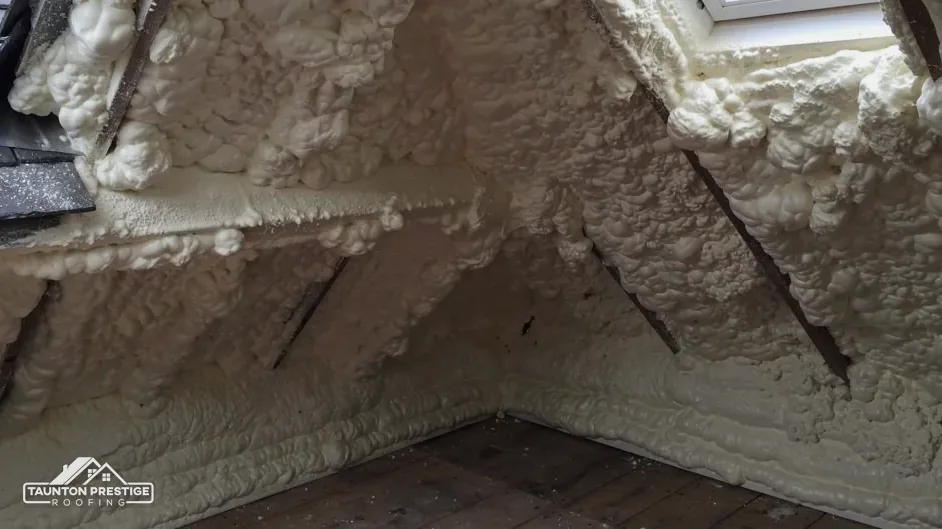
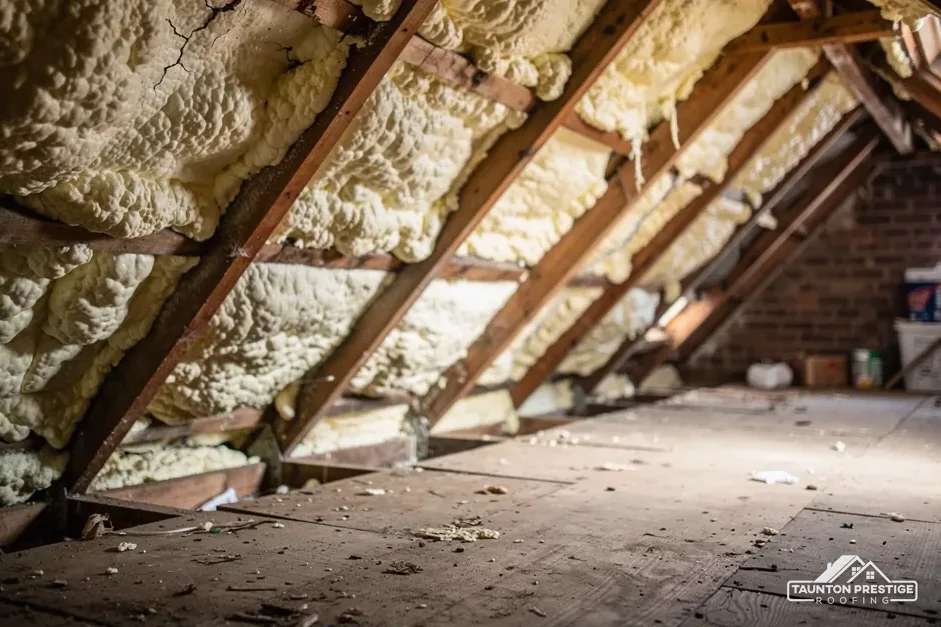
Spray foam goes on in minutes and comes off in a very different way. It is sprayed as a liquid, swells to fill the space, and sets against whatever it touched: rafters, the sloping frame members of the roof, the underlay, and in some lofts the tiles and battens as well. Getting it off without damage is a job of knives, saws and scrapers, not of machines.
People ask three things when they first look into this. Can it be done at all? How hard is it? And what actually happens in the loft? The short answers are yes, harder than a routine repair, and a slow, careful routine that begins with protecting the house and ends with a bare, inspected roof. Below we set out each stage, explain why the type of foam and what it is stuck to change the work, and describe what sets the cost. It belongs to our wider spray foam insulation removal service across Taunton and Somerset.
Can spray foam be taken out at all?
Yes. Foam is a material like any other, and it can be cut, scraped and carried out of a building. What varies enormously from one house to the next is how long that takes and what the roof looks like afterwards.
What makes one removal easier than another?
Three things set the difficulty. The first is the type of foam: a soft, spongy layer comes away differently from a hard, dense one. Our guide on open-cell and closed-cell spray foam explains the two. The second is depth, because a thin skin sprayed onto the underlay is a different job from foam filling the full depth of every rafter bay. The third is what the foam is stuck to. Timber is one thing, felt is another, and tiles and slates are the hardest, because they crack when pulled.
What makes the job hard?
It is difficult mainly because it is slow and exacting. There is no clever shortcut. The foam is stuck to materials that must stay in place and stay intact, so it is removed by working close to the surface, a small area at a time, and checking as you go.
A roof where the foam was used to hold loose tiles on is the hardest case. Removing it can mean taking the tiles off with it, which turns a foam job into a re-roof. The survey tells you which, and the photos show why, before anyone commits to anything.
The first step is always the same: we look at the foam from the hatch, photograph it, and work out which of these cases your loft falls into.
Setting up the loft
Nothing is cut until the loft is ready. A loft is not built for work like this: the ceiling below is thin plasterboard on slender joists, light is poor, and the space is cramped. So the setup comes first, and it matters.
How is the house protected?
Boards are laid over the ceiling joists, which carry the plasterboard of the rooms below, so nobody puts a foot through the plasterboard. Sheeting goes down to catch fragments, and the hatch is sealed off from the landing so dust stays in the loft and out of your rooms. Lighting is rigged so each rafter can be seen, and furniture and stored belongings are cleared or covered beforehand. We tell you the day before what is happening and who will be on site.
What about dust and fumes?
Cutting and scraping foam makes fine particles. Anyone working in the loft wears a respirator and eye protection, and the loft is ventilated as the job allows. Ordinary household dust masks are not the right kit for a job like this, and the point is worth stating because it is one reason this is not a weekend task for an owner.
Bags are filled in the loft and carried out as the work goes on, rather than left to pile up, which keeps the working area clear and the walkway safe. A neat loft is also easier to inspect when the foam has gone. Scaffold or access is set up properly before work begins, and the waste leaves the property as the job moves on.
Never climb onto foam or step between the joists to look at it. Photograph it from the hatch and stay on the ladder.
Hand tools, one bay at a time
The core of the job is cutting. A roofer works along the rafters with a long blade, a saw for dense foam and a scraper for the final skim, taking the foam off in sections. The work usually runs from the ridge, the line along the top where the slopes meet, down towards the eaves, the point where the roof overhangs the wall at its foot.
Why not use power tools?
Because speed is the enemy. Grinders, scrapers on power drills and blasting tools make quick progress and also gouge rafters, tear the underlay and shake tiles loose. The loss is worse than the time saved, because a damaged timber needs repair and a split tile lets in rain. Hand tools are slower, but they let the roofer feel where the foam stops and the roof begins.
What does the work look like day to day?
A bay between two rafters is cut free, lifted, bagged and carried out. The timbers are looked at as they appear, and anything that seems wrong is photographed before work moves on. On soft, spongy foam the pieces often peel away in strips. On hard foam the roofer cuts it into blocks and works those off the surface a little at a time, taking care at the places where it meets the felt or the tiles.
The edges are the slowest part. Where foam has been sprayed into a gap at the eaves or around a chimney, a few centimetres can take as long as a metre of open rafter. Foam stuck to tiles is the hardest case of all.
Protecting timbers, felt and tiles
The reason for all that care is simple. The foam is the thing being removed, and the roof is the thing being kept. Three parts of the roof are most at risk, and each needs its own approach.
How are the timbers protected?
Rafters and battens are sound timber, and a careless blade can gouge them. The last layer of foam is therefore taken off by scraping rather than cutting, and the surface is brushed down. Where a thin film of foam remains on a timber, a roofer may leave a film rather than risk damaging the wood. Timber is then inspected and photographed, as we describe in our guide to what happens after spray foam removal.
What about the underlay?
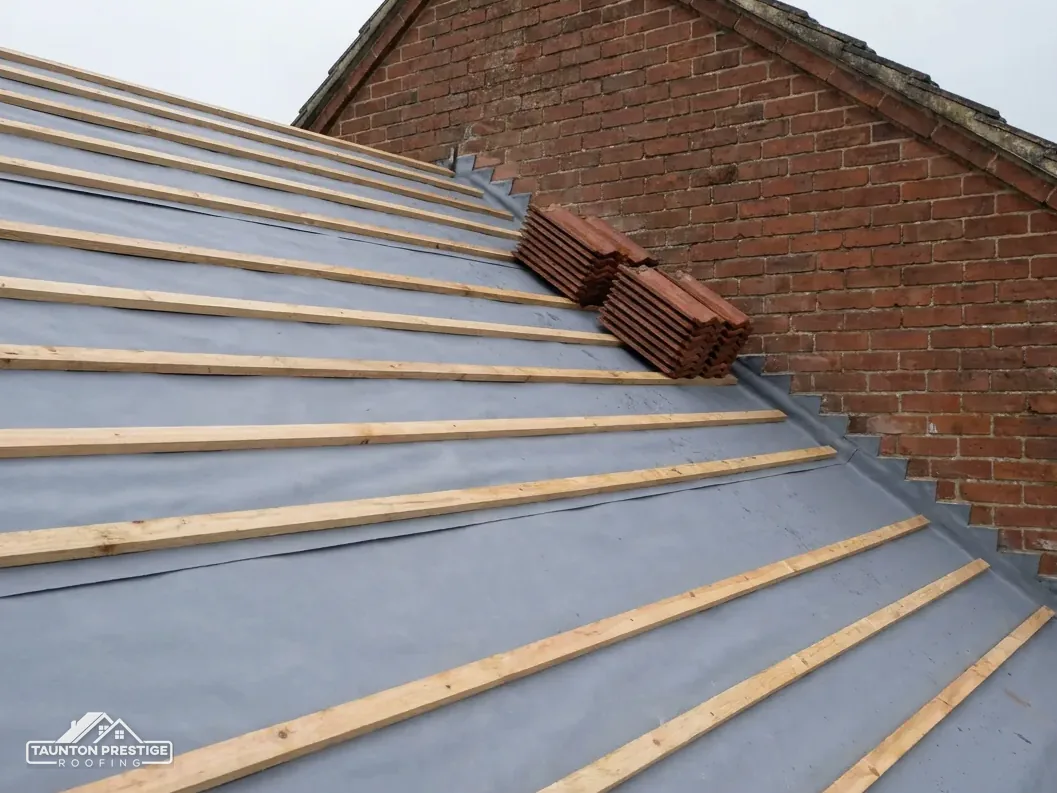
Underlay is the felt or membrane sheet under the tiles, there to deal with water that blows past them. Foam sprayed straight onto it can bond to it, and old felt is brittle. If it tears, the roof needs a new sheet over that area. That means lifting the tiles and refitting them, so the roofer slows down in these areas and works the foam away from the felt rather than pulling it off.
And the tiles and slates?
Rigid foam that has bonded to tile backs may come away with a clean snap or may pull the tile with it. Slates, with their thin edges, can split. Where a tile cannot be freed in one piece, it is replaced with a matching one, or the area is re-roofed if the damage is widespread. A good roofer tells you which is likely before starting, and shows you photos at each step.
Why it is slow work
People are sometimes surprised when a spray foam removal quote is higher than a similar-sized repair, or when the job takes longer than they expected. The reason is not complicated. Every metre of roof needs a person in a cramped, dusty space, working carefully with hand tools, and there is no way to speed that up without risking damage.
What sets the price?
No flat rate fits every loft, because the main drivers differ from house to house:
- The area of roof that is foamed, and how deep the foam is.
- Whether the foam is soft or rigid.
- What it is bonded to: timber, felt, tiles or slates.
- The access to the loft and to the roof, and whether scaffold is needed.
- What the bare roof shows, and what repairs follow.
- How much waste there is to carry out and dispose of.
These are the same things a good roofer weighs up at the survey. They change from house to house, which is why a price quoted over the phone for foam removal is a guess. Our guide to spray foam removal cost goes through the factors in more detail.
Why do we survey before pricing?
Because the survey is the part where we see the foam, test it and photograph it. You see the same pictures. You see the foam as we see it, which is the point of doing it in that order. A price given before anyone has looked in the loft would only be a guess about the depth and the bond.
If the survey finds a problem that was not visible from the hatch, we tell you before anything starts, with photos, so there are no surprises on the day.
What happens when the foam is out
The last stage of removal is the first stage of the repair. Once the foam is gone and the bags are out of the loft, the roof is swept and the timbers are inspected end to end, because this is the first time they have been fully visible since the foam went on.
What do we do with what we find?
Sound timber is left as it is. Soft or split timber is repaired, torn underlay is replaced, and slipped or cracked tiles are refixed or renewed. Each repair is photographed, and the photos are yours to keep, which is useful if a buyer or a lender asks about the roof in future.
Is the loft finished at that stage?
Not until the ventilation is checked and the insulation is back. A loft without foam and without insulation is bare, and it needs airflow at the eaves and a layer of insulation at ceiling level. We cover that in our guide on what comes next, linked above.
Should I talk to my lender?
If the reason for removal is a mortgage or a sale, the RICS consumer guide advises putting one question to your mortgage provider: does its policy allow spray foam? Nobody can promise what a lender will decide, but a bare, inspected roof with photographs gives a surveyor something concrete to look at.
The way forward starts with a survey, where we test the foam and photograph the roof and loft. Once the foam is out and the bare timbers have been checked, a roofer can say what the roof needs and in what order.
Removal questions
Can you have spray foam insulation removed?
Yes. It is cut and scraped away by hand, a section at a time, with the loft protected first. How long it takes and whether repairs follow depends on the foam type, its depth and what it is bonded to. A survey shows which case your roof is.
How hard is spray foam to remove from a roof?
It is slow and exacting rather than technically exotic. The foam is stuck to timber, felt and sometimes tiles that must survive the job, so there are no quick tools. Rigid foam bonded to tiles is the hardest case and can turn the job into a re-roof.
How is spray foam insulation removed from a roof?
Boards and sheeting protect the house, then a roofer cuts the foam from the rafters with blades and saws, scrapes the last skin, and bags the waste. The bare timbers and underlay are then inspected and photographed, and any repairs are agreed before insulation goes back.
More on this subject: Spray foam insulation removal in Taunton